Osclass Installation

This section covers the basic installation of Osclass for users who are using shared hosting or a simple server setup. Follow these steps to get your classifieds website up and running quickly.

Step 1: Download, Unzip, and Upload Osclass Files

To begin, download the latest version of Osclass from the official website:

  1. Visit the Osclass download page.
  2. Click the download button to get the latest ZIP file.
  3. Once the download is complete, extract the ZIP file to a folder on your computer.
  4. Upload the extracted files to your hosting account using an FTP client (e.g., FileZilla) or your hosting provider's file manager. Place the files in the root directory (e.g., public_html) or a subfolder if needed.

Step 2: Initialize Installation

Open your website URL in a browser (e.g., http://yourdomain.com). If the files are correctly uploaded, you will see an error message prompting you to initialize the installation. Click on the link or button to start the installation process.
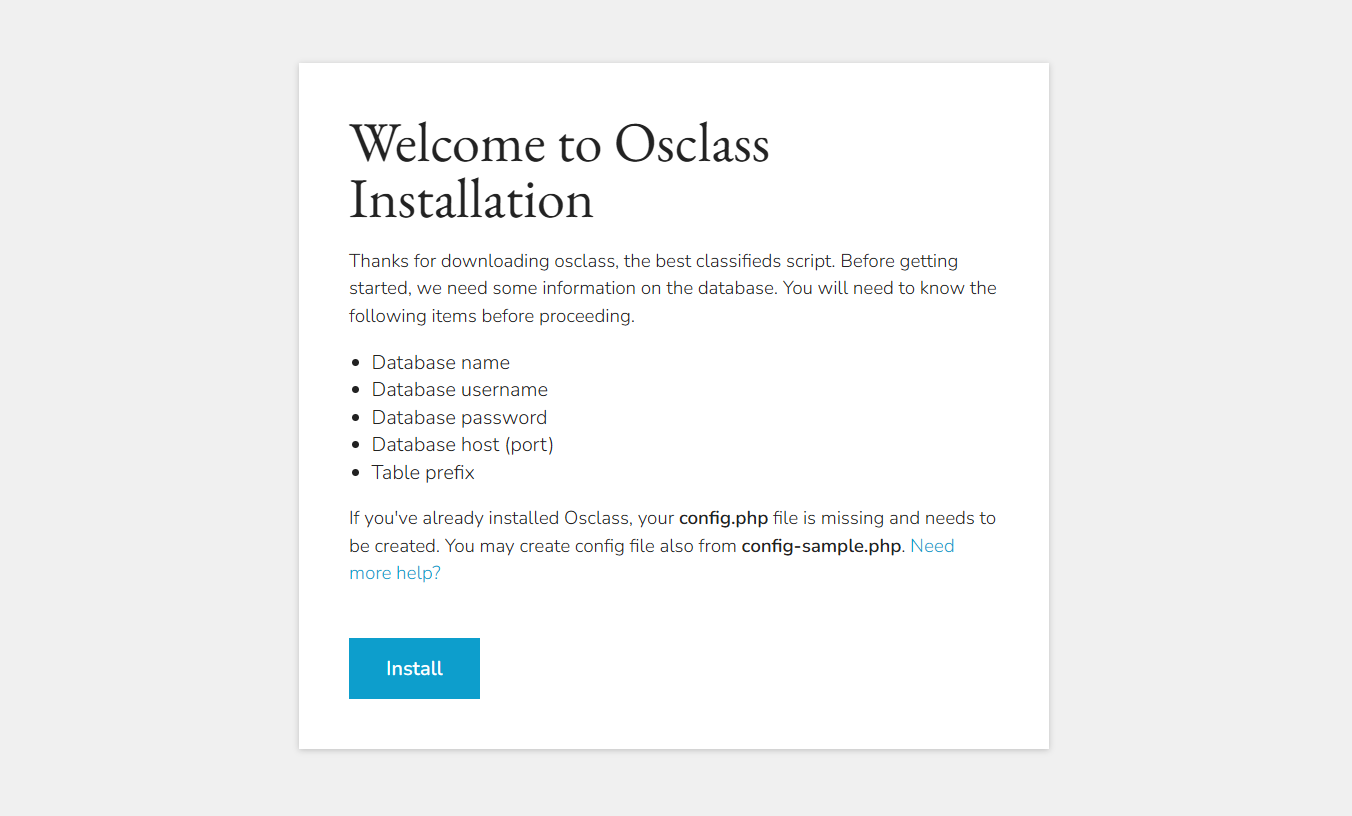
Osclass installation

Step 3: Check Requirements

Osclass will automatically check if your hosting environment meets the minimum requirements. These include:

  • PHP version 7.4 or newer
  • MySQL database
  • MySQLi module for PHP
  • GD module for PHP
  • ImageMagick module for PHP (optional but recommended)

If all requirements are met, you can proceed. If not, you will need to contact your hosting provider to resolve any issues.
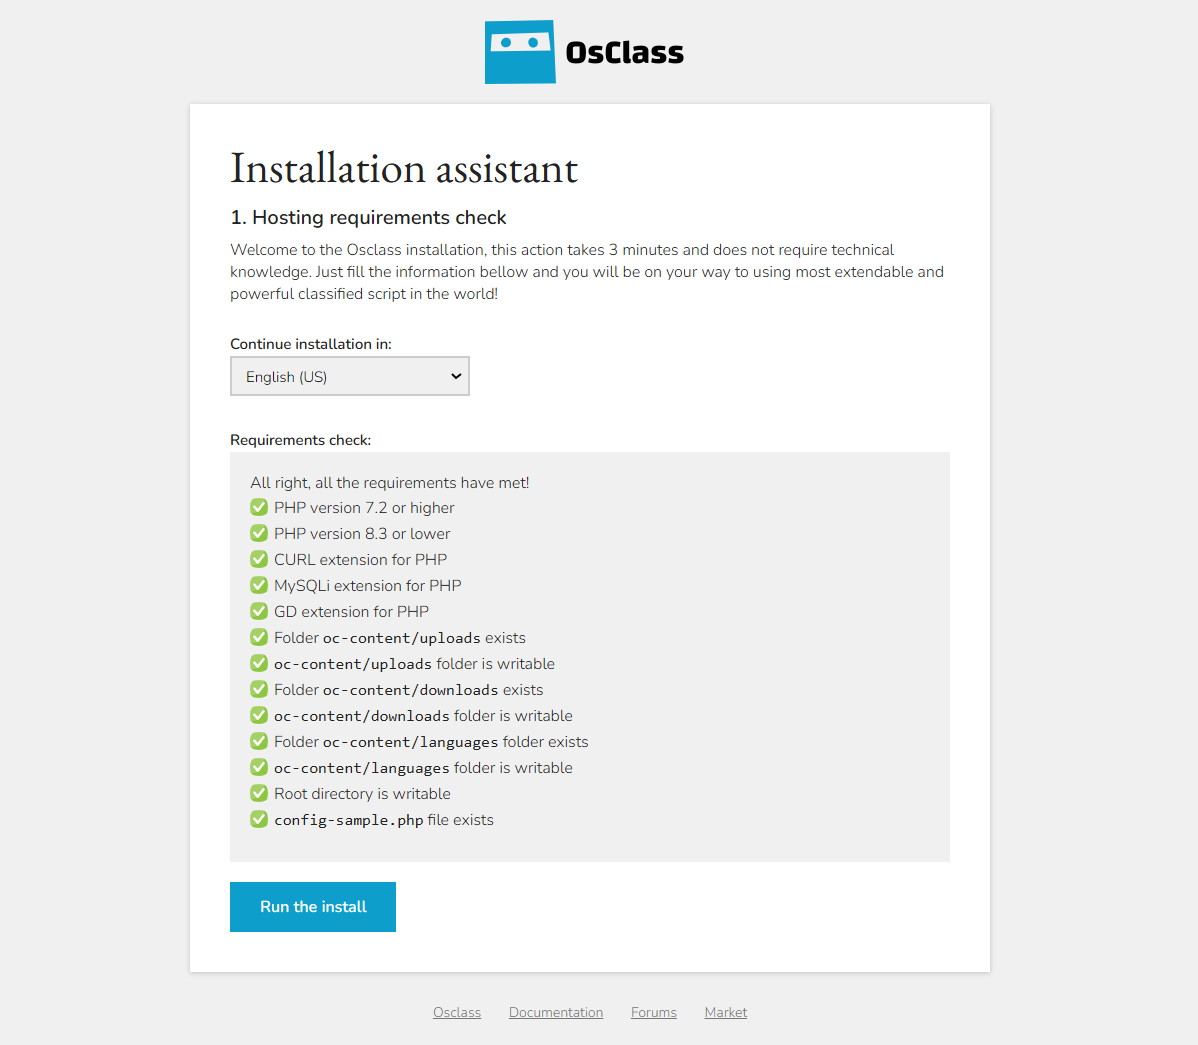
Requirements check
Requirements check

Step 4: Enter Database Information

You will need to provide the following database details:

  • Host: Usually localhost or your database server address.
  • Database Name: The name of the database you created for Osclass.
  • Username: The database user with access to the database.
  • Password: The password for the database user.
  • Table Prefix: Optional, but useful if you want to run multiple Osclass installations in the same database.

Once the information is entered, click Next to proceed.

Step 5: Additional Information

In this step, you will configure basic settings for your website:

  • Admin Username and Password: Create login credentials for the admin panel.
  • Website Name: Enter the name of your classifieds website.
  • Contact Email: Provide an email address for site-related notifications.
  • Import Locations: Optionally, you can import location data for your country during installation.

Step 6: Complete Installation

Once all the information is entered, Osclass will finalize the installation. You will see a confirmation screen with your admin login details. Make sure to save this information securely. You will also receive a confirmation email at the provided contact email address.

You can now access your backoffice at yoursite.com/oc-admin


Video installation guide

Advanced Installation

If you planning to install Osclass on Cloud, AWS, Ubuntu etc, please make sure to check our Advanced Installation Guide.